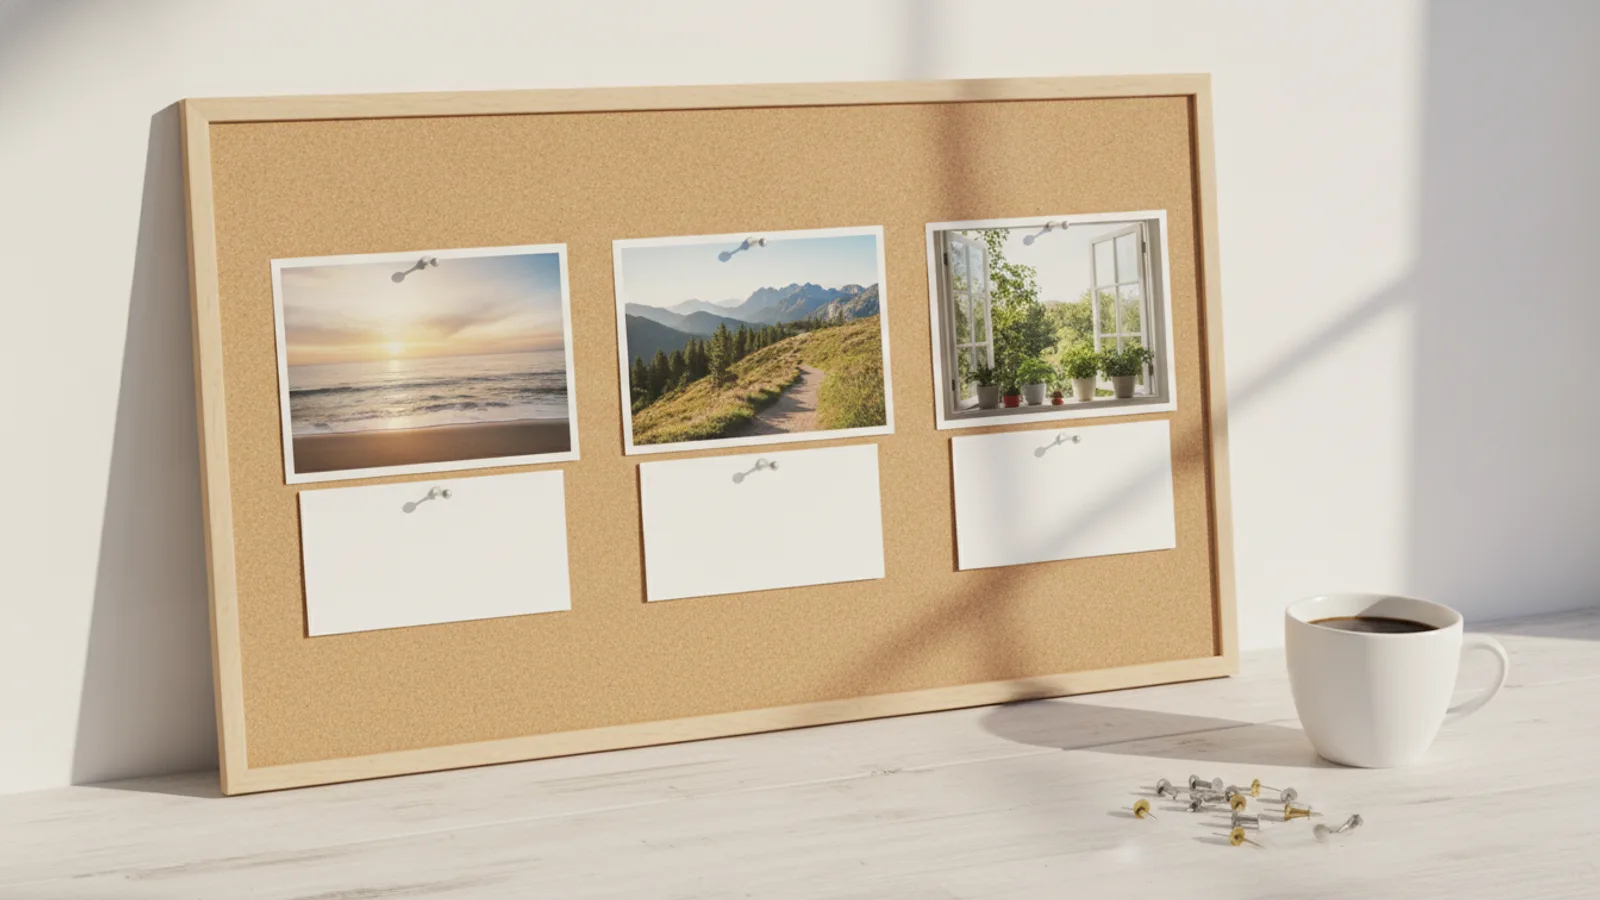
Vision boards have a reputation that swings between two extremes. To some people they are a wellness ritual with a faintly mystical edge. To others they are an afternoon of magazines and glue that changes nothing. Neither is quite right.
Made well, a vision board is a practical tool. It is a way of deciding what you actually want, choosing which goal comes first, and keeping it in view in the weeks when it would otherwise slip out of mind. It does not do the work for you, and it is not meant to. What it does is give the work a starting point you can see.
This page is the step-by-step version: what to do, in what order, in roughly an evening. If you are still deciding whether a vision board is worth making at all, do vision boards work answers that question first.
This page covers what you need, the seven steps from a blank page to a finished board, paper and digital options, and how to use the board once it is on the wall.
What you need, on paper or on a screen
A vision board needs a surface, a handful of pictures and a pen. Choose paper if you want it on a wall, digital if you want it on your phone.
For a paper board:
- A surface. A sheet of card, a small corkboard or a large page in a notebook. Smaller is better than you think; a board the size of a sheet of paper is plenty for three goals.
- Pictures. Old magazines, printed photos of your own, or images printed from the internet.
- Something to stick them with. Glue, tape or pins.
- A pen that writes on the surface. For the notes under each picture, which are the most important part.
For a digital board:
- A single page or slide in any document or design tool you already use, or a phone wallpaper made from a simple collage.
- The same pictures, saved rather than printed.
- Space for text under each image.
Either works. The deciding question is where you actually look every day. A paper board beside the kettle and a phone lock screen both get looked at every day; a file in a folder does not.
Step one: reflect before you choose any pictures
Spend twenty minutes answering a few questions in writing before you open a magazine. The questions decide what goes on the board.
The most common vision board mistake happens before anything is stuck down: choosing pictures because they are appealing, rather than because they stand for a goal. The result is a pleasant collage of beaches and kitchens with no plan behind any of it.
A short reflection prevents that. Answer three questions:
- What have I wanted for years and not started? The goal that keeps coming back is usually the one that belongs on the board.
- What would I most regret not having begun a year from now?
- How do I want the next year to feel, in one sentence?
End of year reflection questions and goal setting questions have longer lists if you want them.
Step two: choose three goals, and mark one as first
Three goals is enough for one board. One of them is the goal you start this month; the others wait their turn.
Look at your answers and pick no more than three goals. They can come from different parts of life: a creative project, a fitness goal, a relationship or a career move. Then choose one to be first. That is the goal that gets the largest picture and the first step this week.
It is tempting to put everything on the board. Resist it. A board with thirty images shows a mood. A board with three shows a plan.
Step three: find one specific picture for each goal
A specific picture points at something you can plan for. A generic one points at a feeling.
For each goal, find one image that stands for the actual finished result:
- Specific beats generic. The poster for the actual 10k you want to run, not a stock photo of a runner. The street you want to live on, not a nice house. The instrument you want to play, ideally the actual model.
- Your own photos work well. A picture of the corner of the room where you mean to write, or the trail you mean to walk, is often stronger than anything from a magazine.
- One image per goal. Several images for one goal dilute it. Choose the one that makes the goal most concrete.
Step four: lay it out with room underneath each picture
Put the first goal in the center or make it largest, and leave a clear space under every picture for the note that comes next.
Arrange the three pictures with the first goal in the most prominent spot. Do not fill every gap with decoration. The empty space beneath each image is where the board stops being a wish and starts being a plan.
If you like words on your board, add one short line per goal in your own language, such as "I finish what I start" or "the year I learn Spanish". Keep it to something you actually believe, and something you could back up with small pieces of evidence each week. How to reframe a limiting belief covers writing lines like that.
Step five: write a finish line, a first step and a weekly check
Under every picture, write three short things: what done looks like, the first step with a date, and a set time to check progress each week.
This is the step most vision boards skip, and it is what makes yours useful:
- A finish line. Something someone else could check: "Run the coastal 10k in May", "A complete first draft by the end of June".
- A first step with a date. Small enough for this week: "Tuesday 7am, a twenty-minute run-walk" or "Saturday, write 300 words".
- A weekly check. A day and a time, such as "Sunday evening, five minutes at the board".
Do vision boards work explains why these three notes matter more than the pictures, and SMART goals for self-improvement helps if a finish line is hard to write.
Step six: put the board where you pass every day
A board seen in an ordinary moment keeps the goal in view. One in a special place you have to visit gets forgotten.
Good places are the ones you pass without trying: beside the kettle, inside a wardrobe door, next to the desk where you work, or as the lock screen on your phone. Avoid putting it away to keep it safe. A board is not an artwork to preserve; it is a tool to look at.
Step seven: check it weekly and update it when a goal moves
Use the board as the place for a five-minute weekly check, and change it when a goal is finished or a step is done.
Each week, at the time you wrote under the first picture, stand at the board for five minutes:
- What moved? Did the first step happen?
- What got in the way?
- What is the next step, and when? Write it under the picture, replacing the last one.
Three weekly review questions is the same check in more detail. When a goal is finished, take the picture down and put up the next one. A board that changes is a board that is working.
Disclosure: we build a coaching app, so weigh this accordingly. In Odyssey your coach helps break a goal into four or five milestones, and check-ins arrive on a rhythm you set, which covers the weeks between board checks. The board on the wall does a job the app does not: it puts the picture where your eyes land every morning.
How to make a vision board, in five lines
- Reflect for twenty minutes before choosing a single picture
- Choose three goals at most, and mark one as the goal you start first
- Find one specific picture for each goal, and leave space underneath
- Under every picture, write a finish line, a first step with a date and a weekly check
- Put it where you pass daily, check it weekly and update it as goals move
Common questions
How do I make a vision board step by step?
Start with twenty minutes of reflection on what you want. Choose up to three goals and mark one as first. Find one specific picture for each, arrange them with the first goal largest, and leave space underneath. Under each picture, write a finish line, a first step with a date and a weekly check, then put the board somewhere you pass every day.
What should I put on a vision board?
One specific picture for each of up to three goals, a short line in your own words if you like, and a note under each picture with a finish line, a first step and a weekly check. Specific images of the real result, such as the actual race or place, work better than generic ones.
Is a digital vision board as good as a paper one?
Either works if you see it every day. A paper board suits a wall you pass in the morning; a digital one suits a phone lock screen. What matters more than the format is that each picture has a finish line, a first step and a weekly check written beside it.
How many goals should a vision board have?
Three at most, with one marked as the goal you start first. More goals make the board look fuller and make it harder to act on, because they compete for the same time.
When is the best time to make a vision board?
Any time you are choosing goals, but late in the year works especially well, because the end of a year is a natural moment to reflect. Making it in December leaves time to write the first steps before January starts.
The takeaway
A vision board is a practical way to decide what you want and keep it in view. Reflect first, choose three goals with one marked first, find one specific picture for each, and write a finish line, a first step and a weekly check underneath every image. Then put it where you pass it every day and check it once a week.
One thing to do today. Answer the three reflection questions in step one in writing, tonight, before you look at a single picture. Circle the one goal you would most regret not having started a year from now.